
Programming with Sensors in Scratch
This lesson will show you programming in Scratch with external sensors. We can read sensor data directly into Scratch and use it to write programs that make decisions based on what the sensors are measuring. If you need a quick primer on Scratch programming, go to this link. There are plenty of resources to get you started.
We will be using ScratchX. It is the same programming language as Scratch, but it includes one key feature that we need, and that is to allow Scratch to talk to the outside world. Regular Scratch programming all stays within one browser window, and there is plenty of things you can do there. But if you want to add outside things to control, Scratch calls these “extensions”, and the version of Scratch that permits this is ScratchX.
Starting ScratchX and PocketLab with one Link
Follow this link to open Pocketlab’s ScratchX program in a Chrome browser:
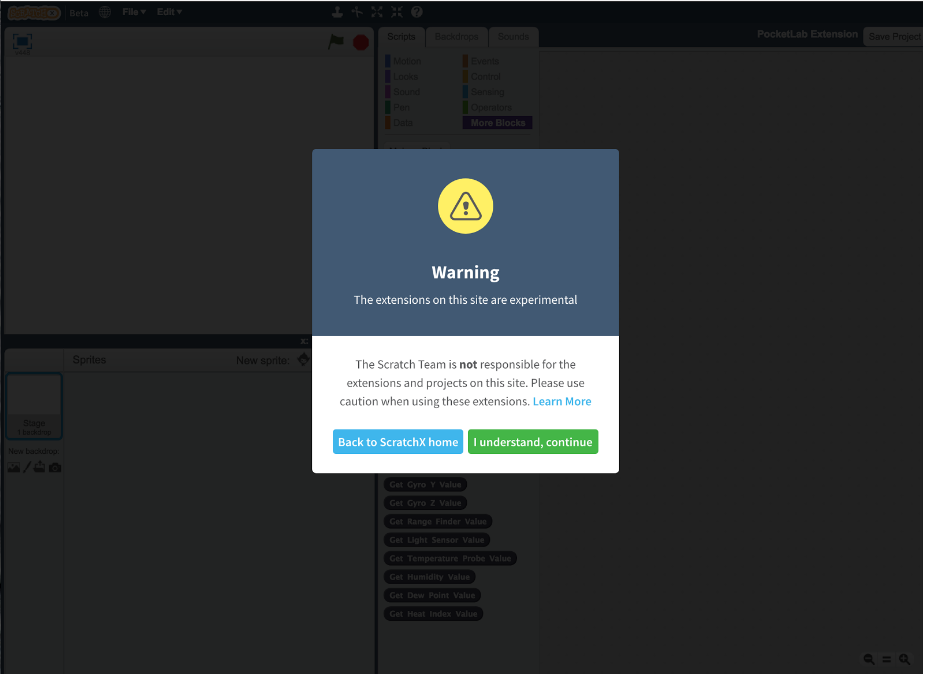
You should get two browser tabs that open up, one that looks like this:
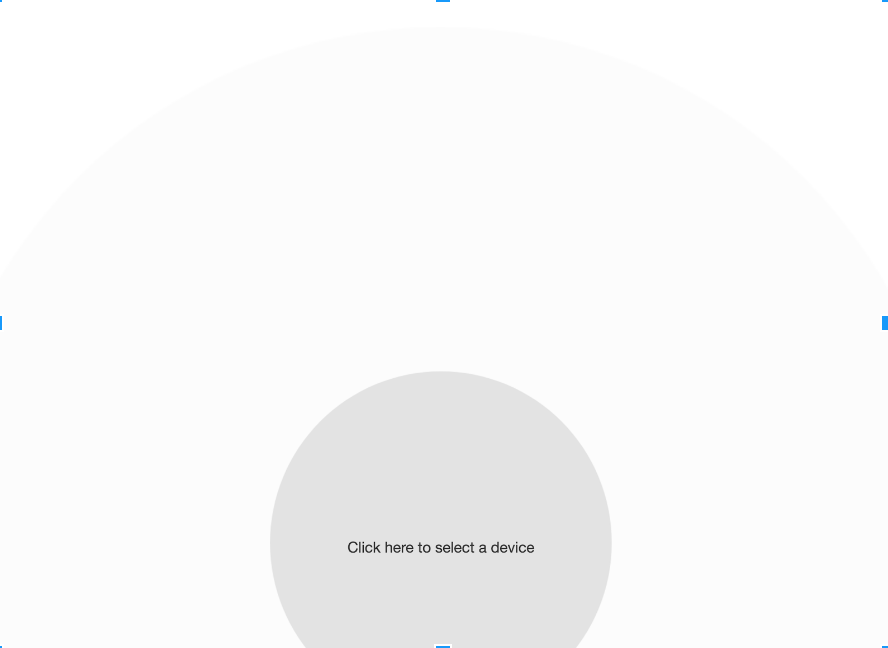
And one that looks like this:
On the first tab that says “Warning The extensions on this site are experimental”, don’t worry that is the standard ScratchX warning screen telling you that you are in a special version of Scratch that can talk to the outside world through extensions, which is exactly what we want to do. Press “I understand, continue”, and you will see what looks like a normal Scratch window with one exception, right down the middle is a list of “Experimental Extensions”:
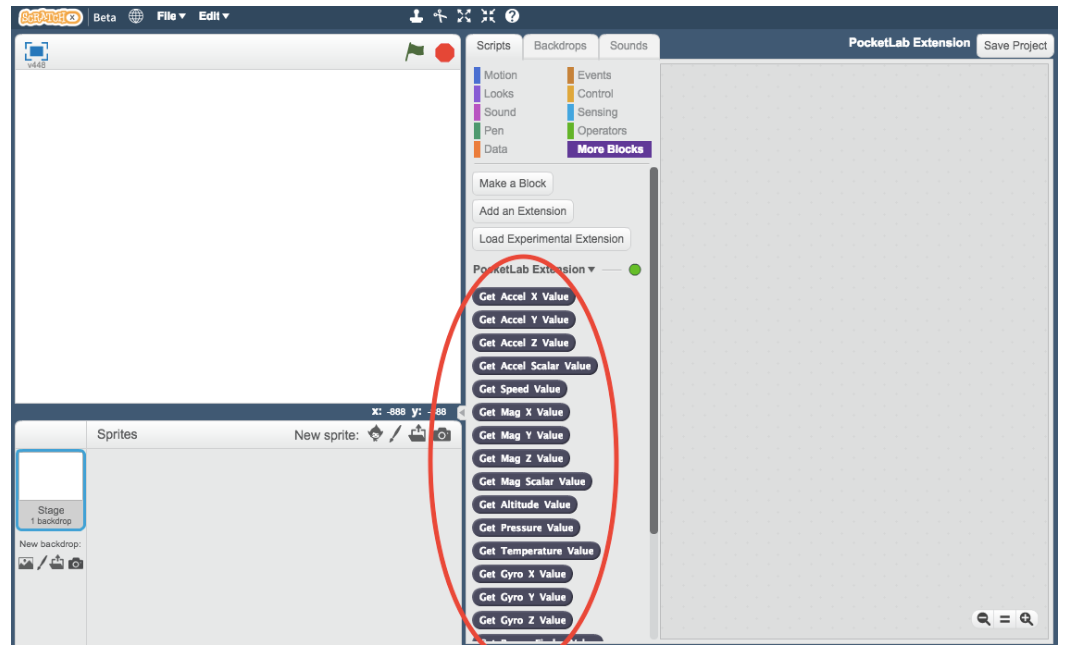
Also note the “PocketLab Extension” and a green circle. If you don’t get a green circle (instead it’s yellow or red), there is a problem - see the Troubleshooting section at the bottom of this guide.
Getting Started connecting your PocketLab
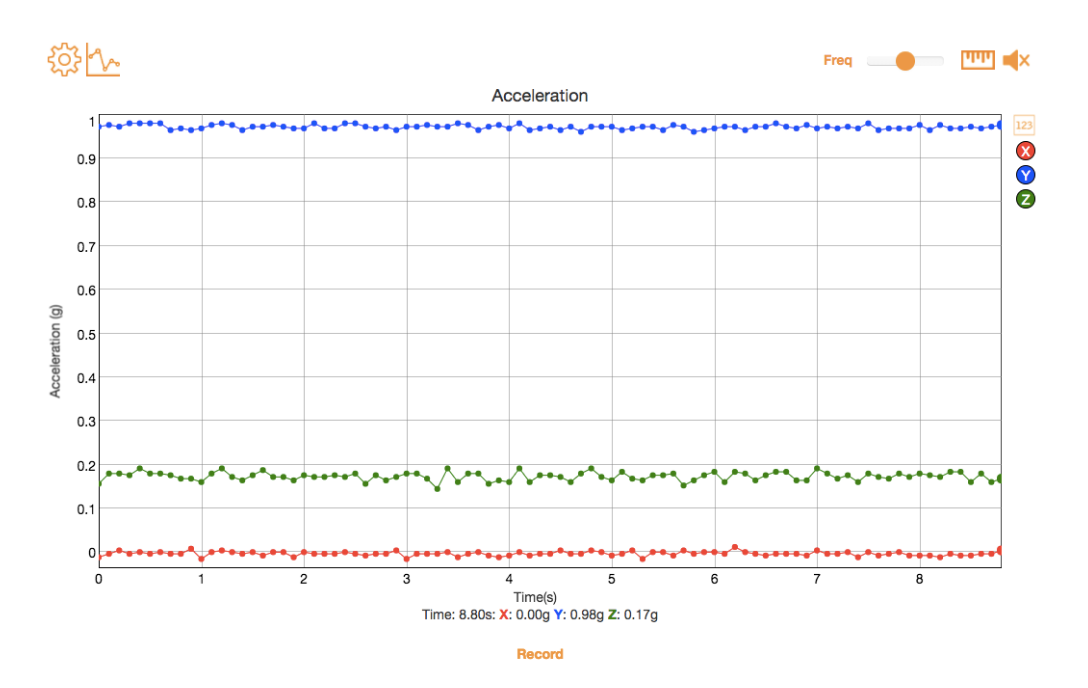
If you have these two windows, the next step is to connect your PocketLab. Make sure your computer has Bluetooth turned on, and press the button on your PocketLab. It should quickly begin pairing to the computer. When connected it will go to the main PocketLab data streaming screen:
If you have made it this far, congratulations! You are ready to do some amazing things. If there are technical issues, see the Troubleshooting section below.
Time to start programming! First Program
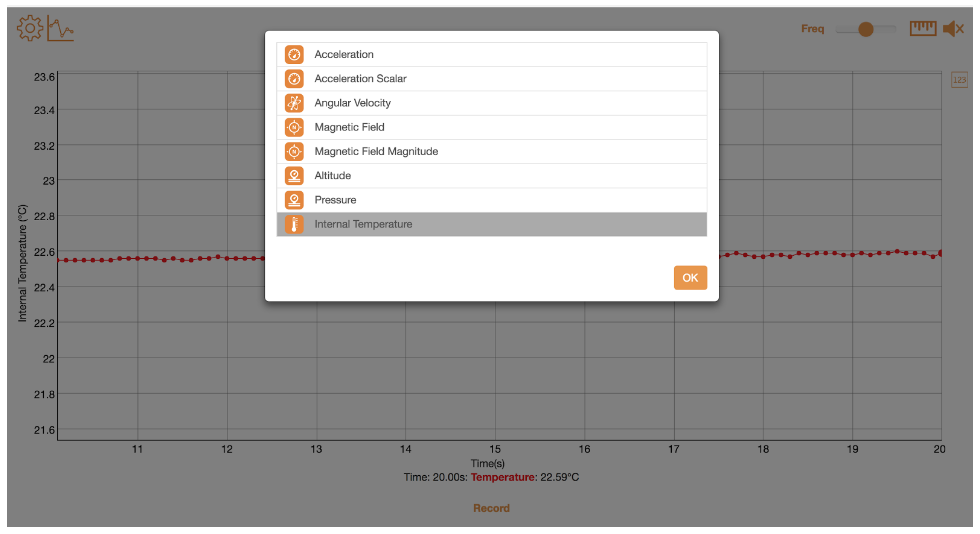
Let’s start out with an extremely simple program to show PocketLab data in Scratch. In the PocketLab app window, select the Internal Temperature sensor:
In the upper right hand corner of the window, set the ‘Freq’ slide to 1 point per second.
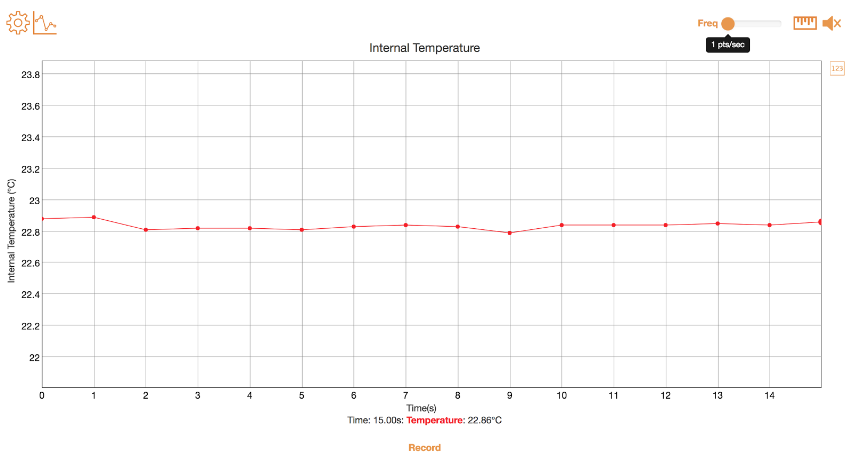
You should now have a temperature graph with 1 temperature reading per second. Note that PocketLab one has an internal temperature reading that changes slowly - for example, it is used mostly for ambient temperature.
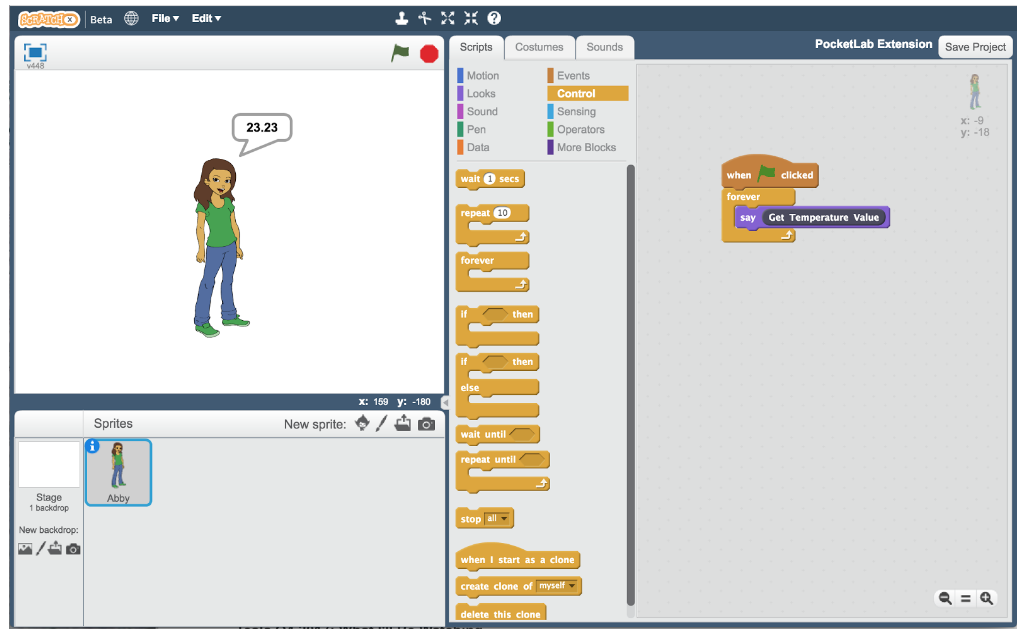
Now go to the Scratch screen and code this simple program. When you click start (the green flag), the sprite should say the temperature, and continually update the temperature as it changes. If you switch back to the PocketLab window, the data that the sprite is saying should match the last point on the temperature graph.
You have now made a remote temperature sensor in a Scratch program that reads external sensor data! You can put your PocketLab outside and then read the temperature while inside at your computer.
